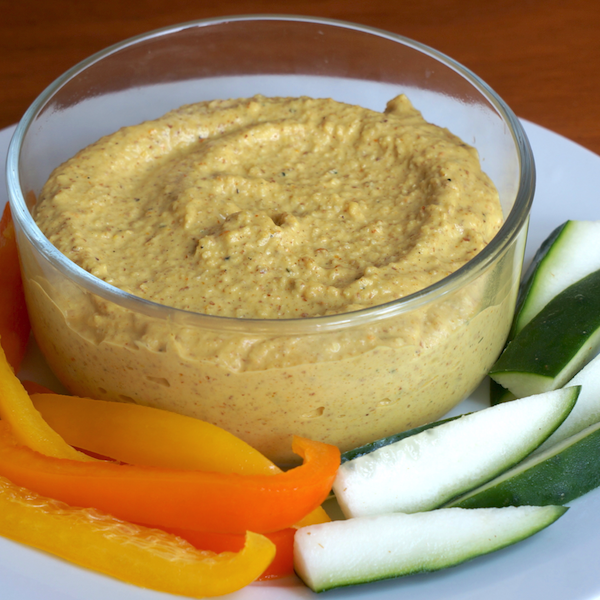
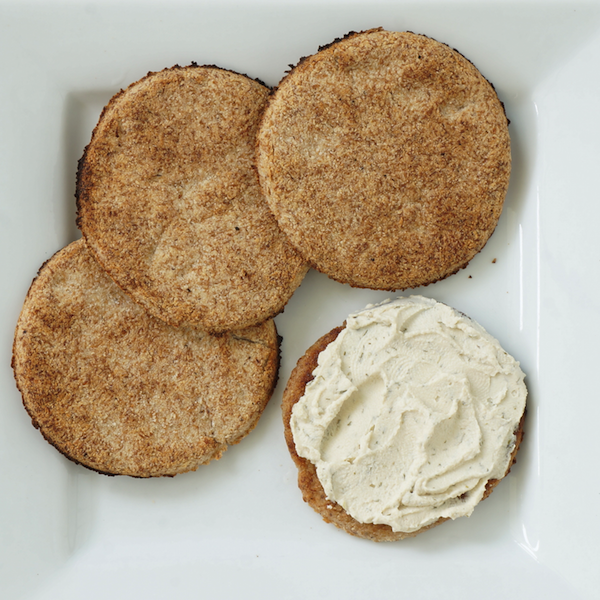
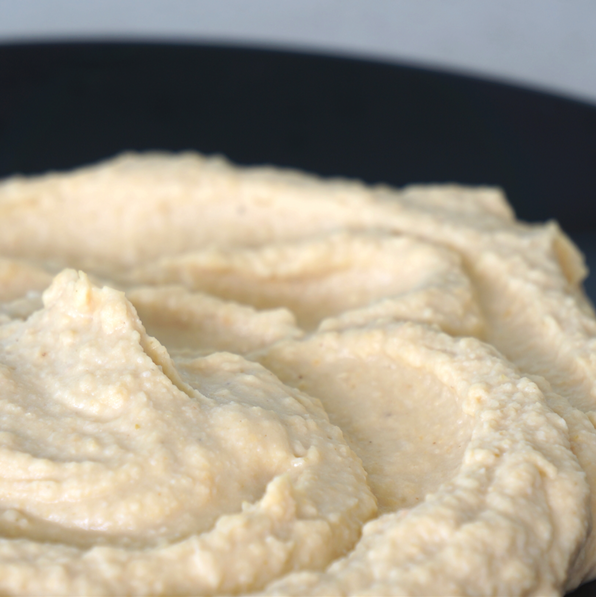
 You’ll love the creaminess of this Hummus, and there is a trick you’ll learn in this recipe that ensures it comes out with a beautiful smooth consistency. A good Hummus is hard to beat, and can be added to salads, sandwiches and wraps or be enjoyed straight out of the jar. I regularly make and keep a jar of Hummus on hand in our fridge for every kind of occasion.
This recipe is: Gluten-free (GF), Wheat-free (WF), Dairy-free (DF), refined Sugar-free (SF), Plant-based/Vegan (PB), Vegetarian (V)
| Prep Time | 10-15 minutes |
| Servings |
servings
|
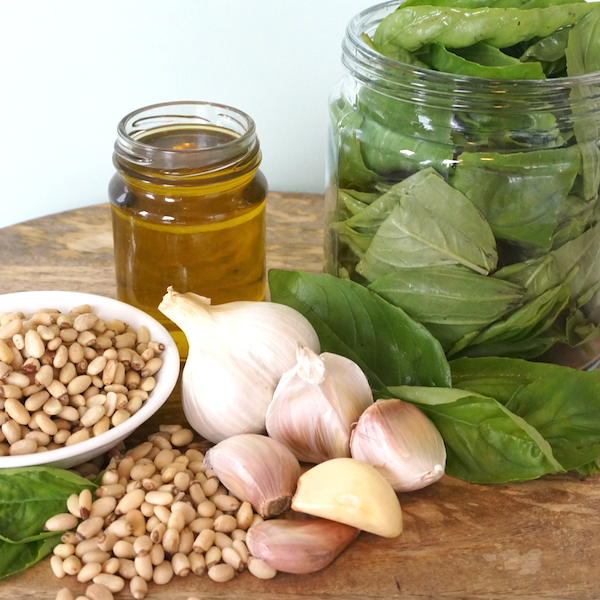
- ¼ cup Tahini / Sesame Seed Paste
- ¼ cup Lemon / Lime (fresh juice)
- 3 small cloves Garlic (crushed/finely chopped)
- ½ tsp Cumin (dried, ground)
- ½ tsp Sea Salt
- 2 tbsp Olive Oil (extra virgin, cold-pressed)
- 1 can (15oz/425g) Chickpeas / Garbanzo Beans (drained and rinsed)
- 2 tbsp Spring Water (only if needed)
Ingredients
|
|
- Blend Tahini and Lemon Juice together until smooth, fluffy and creamy - continually scrape sides using a spatula to combine well.
- Add Garlic, Cumin, Salt, Olive Oil. Blend well.
- Slowly add Chickpeas to the mix, blending in between.
- Only add Water if need be to reach desired consistency.
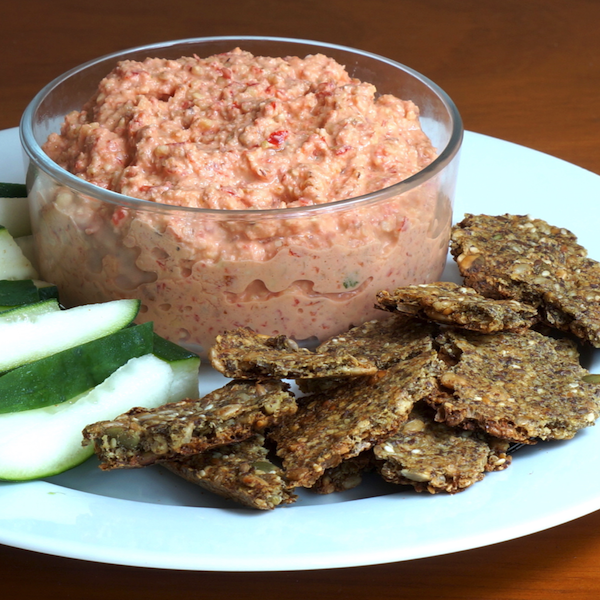
Serving suggestion:
* Garnish with a few Kalamata Olives, a drizzle of Olive Oil and a sprinkle of Paprika.
* Serve with fresh slices of Carrot, Cucumber, Capsicum/Bell Peppers or any other veg you like, or Flaxseed Crackers or any preferred choice of gluten-free crackers.
Other Notes:
*If you can, choose organic Chickpeas canned in BPA-free cans. I use an organic brand called Eden (available in Australia & USA). Haven't yet found a brand in South Africa - please share in our Fresh Life Community Facebook page if you do find one.
*I like the above mentioned brand because they prepare their beans with Kombu seaweed, which helps break down the oligosaccharides in beans which can hinder or upset the digestion process (acting as an enzyme inhibitor).
This is good if you don't usually do very well with beans and legumes. Bean’s and Legume’s enzyme inhibitors can cause slightly upset tummies which is why they are joked about as ‘causing gas’.
You can buy your own Kombu seaweed from an Asian supermarket and activate/remove enzyme inhibitors by boiling store bought Chickpeas for 15-20 minutes with hot water and Kombu Seaweed,
*Or you can make your own Chickpeas from scratch:
It's not as hard as it seems, I've recently been doing this and it just takes a little planning/time management.
Day 1 PM - Soak Chickpeas in water (add few extra inches water above Chickpeas - keep covered), with 1 tsp of Sea Salt per litre/gallon.
Day 2 AM - Change water (using same formula as above).
Day 2 PM - Boil Chickpeas until soft. This usually takes a couple hours, so plan to do this while you’re watching a documentary in the evening. Drain and let cool. Store in fridge before bed.
Day 3 anytime - follow recipe above to make your from-scratch Hummus!