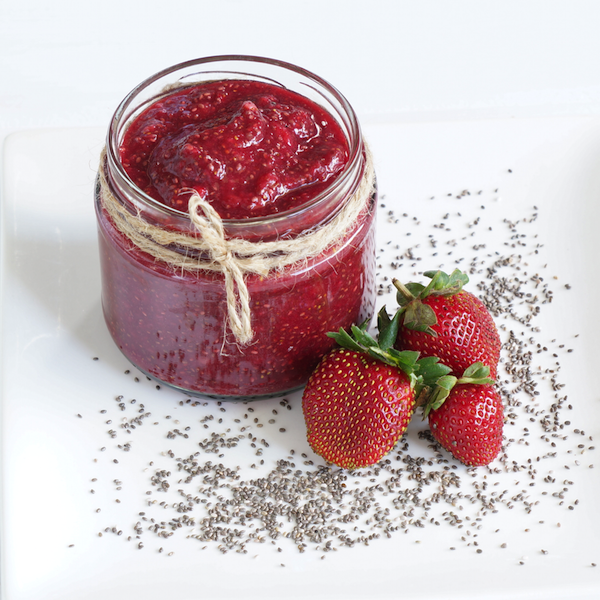
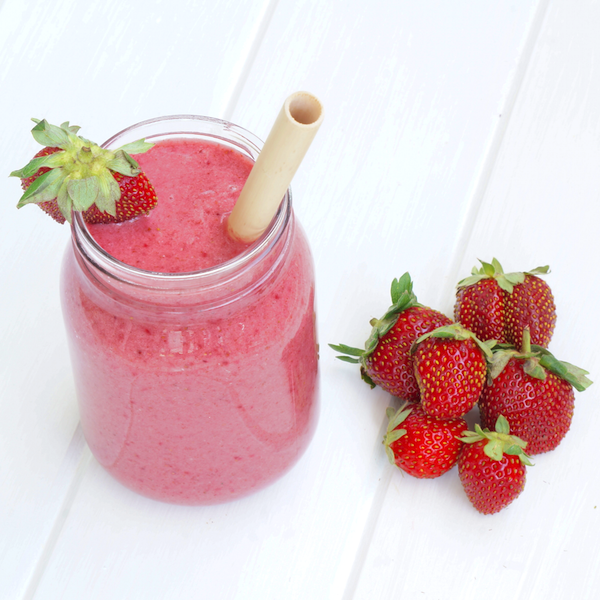
*Raw Strawberry Jam: Seal with a lid in a glass jar, and store in the fridge. If you wait 15+ min to allow the Chias Seeds to expand, you will get a beautiful jam-like consistency. Eat within 1-2 days.
*Always make fresh and consume immediately, where possible - you get the most benefits and cleansing/detoxing and nourishing effects from freshly made smoothies.
*If need be, prepare the ingredients you’ll need for your smoothie the night before. Put dry ingredients together in a container, add fresh ingredients to a container and put it ready in the fridge, portion frozen ingredients in with the ice you’ll need in a freezer bag and have that ready in the freezer for the morning.
*Seal your smoothie in with a lid in a glass bottle or stainless steel container - never in plastic. Plastic will leach into your smoothie and plastic adds to the bio-accumulation of chemicals in the body (chemical body burden), contributing to The Toxic Fat Effect! (see Module 2). A great idea is a flask which helps keep your smoothie cold and fresher for longer when you are out and about.
*When traveling, take your personal blender with you. Take portions of nuts and superfood powders. It’s easy to pick up a banana or some fresh berries or other fruit to sweeten and freshen up your smoothies. I travel with my Tribest Personal Blender everywhere I go (weight 4.4 lbs / 2 kg).
*Choose the cleanest ingredients possible:
-Choose spray-free/organic fresh produce where possible, and if buying conventional, rinse produce in diluted white vinegar water.
-Choose dry ingredients (i.e. nuts, seeds, dried fruits ) that are spray-fee/organic where possible, and which don’t have preservatives such as sulphur dioxide
- Choose virgin, cold-pressed Coconut Oil in glass where possible. It should be pure white in colour. Do not choose cheaper, deodorised/neutral flavoured coconut oils that are off-white.
-Choose Coconut Cream and Coconut Milk that is clean/free from additives, preservatives and E numbers. Plain Coconut Cream/Milk is better than the ones with added guar gum as this changes the consistency of recipes. You can use Nut Milk as an alternative.
-Choose to homemade Nut Milk instead of buying. Most store bought ones have additives and stabilisers. Quick Tip: It’s easy to make your own: just grind ¼ cup nuts, then blend with 1 cup water.
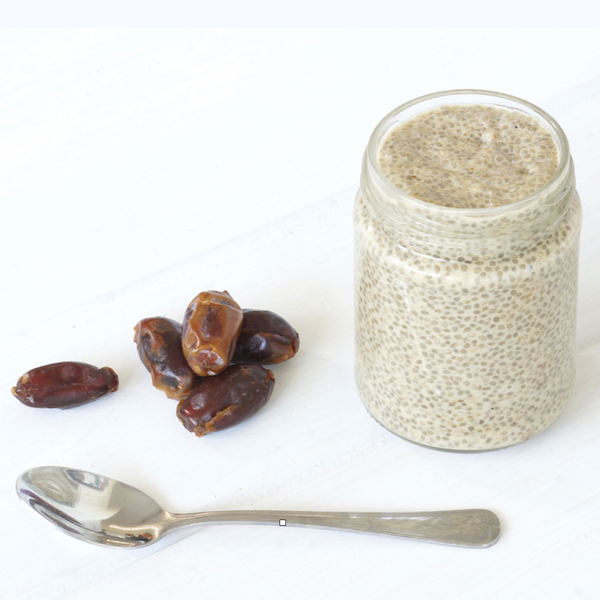
-Choose whole fruits over optional sweeteners if you need to add more sweetness. My preferred choice is Date Paste (pre-soaked Dates). Quick Tip: Keep a jar filled with Dates covered with water, in the fridge ready to go and use as is (instead of actually blending to make Date Paste).
Quick Link to FLIMJ Program resources for Fresh Life Smoothies:
Module 2 - refresh on information about The Toxic Fat Effect and how bioaccumulation of toxins in our bodies can lead to weight gain (that’s hard to lose), brain fog, low energy and many more poor health symptoms.
Module 5 - Become a Smoothie Master cheat sheet to print off and put up on the fridge so you can make awesome smoothies from scratch with my Fresh Life Smoothie Formula with what you already have in your kitchen.
Module 5 - To get you into the swing of things, redo our 7 Day Smoothies Save the Day Challenge - you’re always supported in our Fresh Life Community, no matter when you decide to do any of the 7 Day Challenges.
You’ll find your Recipe Book: 7 Days of Smoothies Save the Day and Shopping List print off’s to guide you through the challenge.
My thoughts on having a Fresh Life Smoothie Habit:
Drinking fresh smoothies is a very important, wonderfully quick and convenient, key to your Fresh Life Internal Makeover Journey. Just like fresh juicing, it is a fast, delicious way to get live enzymes - which can only be obtained from raw plants/veggies and fruits - plus vital nutrients into your body for your cells to function optimally.
It is also one of the best ways to provide your body with enough soft bulk (plant fibre) which our bodies need for proper gut function. Good quality plant fibre is what the good bacteria in our gut feeds on! Plus it helps the body to move xeno-toxins (which cause The Toxic Fat Effect - Module 2) from the body every day.
Gone are the days of getting away with occasionally doing a cleanse, or doing a detox a few times a year. The influx and exposure of toxins we have on a daily basis is now too much and too varied for our bodies to handle on its own.
These daily toxins bio-accumulate in our bodies (refer to Module 2 work) and most won’t move out of the body without specific assistance.
We have to be proactive to get the results we want.
We have to, as I like to say, “ABC - always be cleansing…”
You also need to “ABN - always be nourishing…” And smoothies really are an amazing way to jam a whole lot of good quality, clean nutrient-dense ingredients and healthy fats and oils into one tasty drink.
If you want to Live Your Best Fresh Life, smoothies need to be a regular part of your days.
During the initial stage of my journey I was drinking a lot of freshly made juices, especially first thing in the mornings.
Essential during periods of healing as lots of fresh juicing gives the body highly concentrated amounts of nutrients that it really needs without fibre and fats/oils.
This means juices are easier to digest and the body is able to assimilate and utelise those nutrients, faster. Which is why I was able to lose so much toxic fat/excess weight so quickly. And in a healthy way.
Smoothies became a huge hit for me as a way to compliment what I was achieving with juicing and other cleansing rituals.
Firstly, because they are so quick and easy to make, they became my go to for lunch or as a on-the-go breakfast if I was really pressed for time in the mornings. I also used smoothies to answer late afternoon cravings and after dinner sweet tooth cravings.
Remember, cravings are our bodies way of asking for the nutrients it needs. But it’s confusing because we crave foods that aren’t good for us and won’t actually give our bodies what it needs.
A fresh juice or a smoothie is able to help give our body the nutrients it’s really after.
A Fresh Life Habit I use myself is to meet cravings with a juice or smoothie first, and then go after what I thought I was craving.
I find that l either don’t want that thing I was craving in the first place, or at the very least I’ll eat a lot less of it. A win win situation. More baby-steps to help us get to where we ant to be and a great Fresh Life Habit to cultivate.
Secondly, smoothies offer a delicious way to give the body whole food ingredients along with their beneficial plant fibre, healthy fats/oils and is also a great way to add nutrient-dense superfoods. After juicing, smoothies are the next best, easiest food for our bodies to digest as the ingredients have been blended, helping the body with the digestive process.
After cleansing and flushing the body with easy to digest juices, smoothies can nourish and make our tummies feel full and satiated.
One beautiful smoothie a day became a way of saving time - often a smoothie is enough to fill me at lunchtime, and help abolish cravings by packing in the nutrients the body loves. This is why smoothies are an integral part of my Fresh Life Formula.
Fresh smoothies nourishes, and helps the body bind and push toxins out of the body, every single day.
Prep Tip: You can always prep your smoothie ingredients the night before if you’re going to be rushed the next day. As mentioned in the Recipe Notes, you can put dry ingredients together in a container, add fresh ingredients to a container and put it ready in the fridge, portion frozen ingredients in with the ice you’ll need in a freezer bag and have ready in the freezer for the morning.
Storing Tip: Just seal in a glass jar with a lid or stainless steel container in the fridge so it’s ready to go in the morning. A great idea is a flask which helps keep your smoothie cold and fresher for longer when you are out and about.
Blender Tip: When traveling or working away from home, take your personal blender with you. Take portions of nuts and superfood powders. It's easy to pick up a banana or some fresh berries or other fruit to be able to sweeten and freshen up your smoothies. I travel with my Tribest Personal Blender everywhere I go (weight 4.4 lbs / 2 kg).
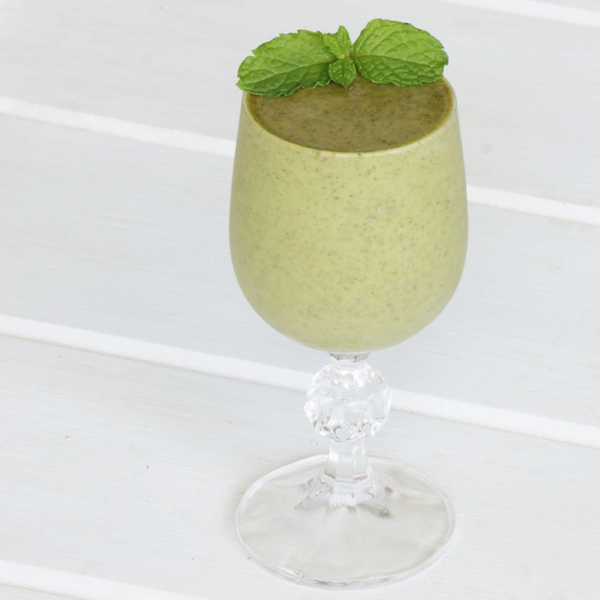
The darker the green colour of a plant, the more chlorophyll the plant contains. And chlorophyll helps to push toxins from our cells and bind and remove them from our blood stream and gut.
Over and above everything, if I can only do one thing in a day, it will be to ensure I have at least one raw juice or smoothie a day - preferably a Green one!
Alternating colours is also a good idea to ensure your body is receiving a full spectrum of nutrients - eating/drinking the whole rainbow of colours we find in vegetables and fruits will achieve this without you even having to think about what your body needs.
Got questions for me? Or want some friendly support and accountability to help you on your FLIMJourney?
Our Fresh Life Community is the place to be!
See you over there!
Big Hugs,
xx Sam